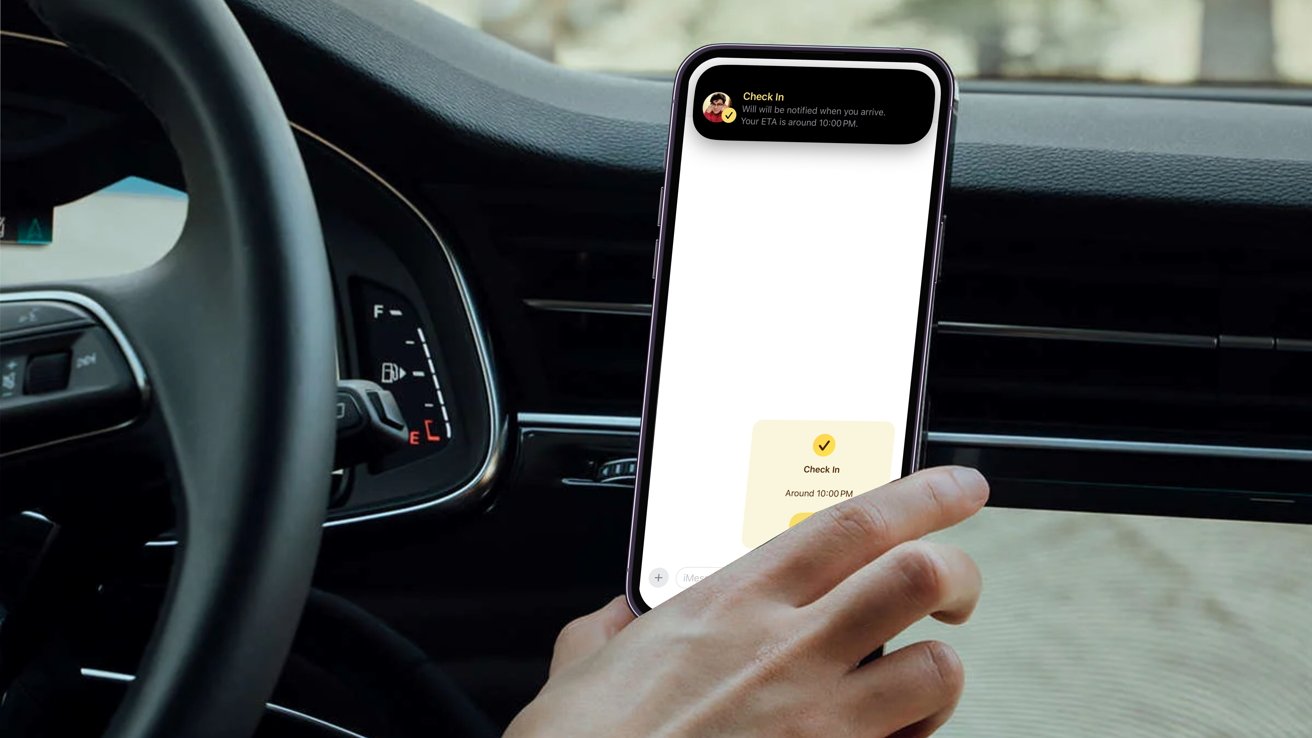
Check In being sent via iMessage while showing notification through the Dynamic Island
Check In is a great way to notify a family member or friend that you arrived at your destination safely, but it can also be helpful in other scenarios. Here’s how to use Check In for alternative uses in iOS 17.
When activated, Check In will automatically notify a friend that your iPhone has arrived, and you can choose what details they can see if you don’t complete your Check In. Similarly, if a friend sends you a Check In but their iPhone hasn’t arrived as expected, you can view their location, battery percentage, cellular signal, and more.
However, the feature also has other uses, such as a timer to notify a loved one of your safety when meeting someone new. You can also use it to inform a recipient of your arrival without using ETA in Maps if you already know the route.
As primarily marketed, Check In is for when you arrive home, but it’s also beneficial in other scenarios. Digging deeper into its menu and customization options will open up new uses you may not have thought of previously.
Cómo hacerle saber a alguien que llegaste a tu destino
Letting someone know you arrived safely to your destination is the most commonly used scenario for Check In, and it’s simple to enable. Here’s how to set it up before starting your next journey.
- Open Messages
- Go into the conversation with the person you want to send the Check In to
- Tap on the plus (+) icon next to the message field
- Tap on Check In
- Tap Edit at the bottom of the prompt
- Input the destination you are going towards
- Select Done in the upper right corner and send the Check In
When inputting the address you are heading towards, you can choose the form of transportation you are taking — whether it’s driving, mass transit, or walking. Selecting the one you are using is essential so your device can accurately calculate how long it’ll take you to arrive.
If you know you’ll arrive a little later than Check In predicts, you can manually add additional time to the calculation. You can add an extra 15 minutes, 30 minutes, or an hour, which can also be removed after being set.
If you enter a recipient’s location instead of your home address, it’ll let them know you’ve arrived to meet them rather than when you’ve arrived home. This is great when you want to notify them of your arrival without sending an ETA in Maps.
ETA being used in Maps vs. using Check In in iMessage
Check Ins can only be sent to individual people, not within group chats, and you can only have one active at a time. If you want additional people to know you’ve arrived at your location, use ETA in Maps.
Cómo enviar un temporizador de Check In
Check Ins don’t only have to be used for sending location-based alerts; they can also be sent after a set amount of time. This is great when you’re in an unfamiliar location or meeting someone new, and your loved one wants to ensure your safety.
You’ll be notified multiple times when the timer is nearing completion before it does. Once time is up, you’ll have to dismiss the Check In manually, or the recipient will be notified that you didn’t respond.
Sending a Check In for when the pre-set timer is done
Here’s how to switch and send a Check In timer to a friend or family member.
- Open Messages
- Go into the conversation with the person you want to send the Check In to
- Tap on the plus (+) icon next to the message field
- Tap on Check In
- Tap Edit at the bottom of the prompt
- Switch to “After a timer”
- Select the amount of time you want to pass before a notification is sent
Timer amounts can only be placed within five-minute intervals, meaning you cannot put it for 23 minutes, for example. So you can set the timer from five minutes to 23 hours and 55 minutes.
You will have 15 minutes to respond to the prompt. Once the timer is over, you can end the Check In altogether or add additional time and be prompted again afterward.
Adding time to Check In timer when it ends
If you don’t respond to the prompt within 15 minutes, then the recipient will receive a notification and have access to the amount of information you granted them initially.
Cómo cambiar la cantidad de información que le otorgas al destinatario
Ya sea que te dirijas a casa o a otro lugar, si no respondes a un temporizador de Check In o llegas a tu destino a tiempo, se enviará una notificación al destinatario. Esto les permitirá acceder a la información que inicialmente les otorgaste.
Opciones a elegir cuando el temporizador finaliza sin confirmación al Check In
La información a la que pueden acceder puede variar de Limitada a Completa. Y dependiendo de cuál elijas determinará cuánta información recibe el destinatario.
Limitada permitirá al destinatario ver la ubicación más reciente, detalles de batería y señal de red. Estos detalles se aplicarán tanto a tu iPhone como a tu Apple Watch.
Opciones en la configuración de Mensajes sobre cuánta información se otorga al destinatario
La información completa proporcionará la misma información más la ruta que recorriste recientemente y la ubicación en la que desbloqueaste por última vez tu iPhone o te quitaste el Apple Watch.
Ten en cuenta que estos ajustes se aplicarán a cada Check In que envíes, sin importar a quién sea. Sin embargo, puedes cambiar cuánta información es accesible.
Así es cómo cambiar cuánta información otorgarás si no respondes a una notificación de Check In.
- Abrir Configuración
- Desplazarse hasta Mensajes y tocar en él
- Desplazarse hasta la opción de Datos dentro de la sección de Check In
- Seleccionar ya sea Limitado o Completo
Cuando envíes un Check In, la opción elegida estará adjunta. Sin embargo, puedes cambiarla en cualquier momento.
Al personalizar el Check In, también puedes ser dirigido a la configuración del Check In tocando “Configuración de Mensajes” bajo Datos de Check In.
Chequeando uno al otro
Check In es una excelente forma de informar a otros que has llegado a tu destino final o estás retrasado por el tráfico. También enviará información vital si no respondes a las notificaciones de Check In.
Notificación de Check In enviada al destinatario para informarle que el remitente ha finalizado el Check In
Es una función básica que reemplaza escribir un mensaje de texto o llamar a alguien para verificar con ellos. Automáticamente realiza todo el trabajo necesario e informa tanto a ti como al destinatario cuando haces el check in.
Debes tener un iPhone con iOS 17 o posterior para usar Check In. Además, ambos dispositivos deben tener al menos iOS 17 para enviar Check Ins entre sí.